
Sometimes you may notice that the water flow from your faucet is not up to the mark. It may happen when the path from the faucet aerator is not clear due to debris or other kinds of mineral deposits from the water flow.
In that case, you may need to replace or clean the faucet aerator. But, it is not quite easy to remove the aerator without some specific tools. Typically, faucet aerators are hidden which makes them quite tough to remove.
If you don’t know how to remove the recessed faucet aerator without a key, don’t worry anymore. In this article, I will tell you how to do the removal of a recessed type faucet aerator without using a key. Want to know more? Read on!
When Should You Remove a Faucet Aerator?
We usually use a faucet aerator to regulate the water pressure. If you don’t use an aerator the water flow will not be regulated.
As a result, unregulated water pressure can be one of the main reasons for water wastage. In that case, a small device which is known as a faucet aerator can save your day.
The device is quite small. You can install it easily into your faucet. Most of the faucet aerators are recessed type. That means the entire aerator remains hidden inside the faucet. This device will regulate the water flow pressure which will reduce overall water wastage.
Now, if you feel that water flow is not up to the expected level from the faucet aerator, it can be assumed that it is due to debris or mineral deposits that create a restriction in the path of water flow.
In that case, you should try to remove the faucet aerator to clean or replace it.
How To Remove Recessed Faucet Aerator Without Key?
The nature of the recessed faucet aerator is it is usually installed hidden. That is why, you will need to apply special techniques to remove it, especially if you don’t have a tool.
Below I will show you all the steps by which you easily remove a recessed faucet aerator and you will not need any kind of specific tools. However, you will need some specific equipment to get the job done.
Generally, the following things are needed to complete the task.
- Gloves
- Screwdriver (Try to get a flathead one)
- Hammer
- Plastic bag
- Vinegar, etc.
To remove a recessed aerator from your faucet you need to follow these steps carefully.
Try To Remove It By Using Your Hand:
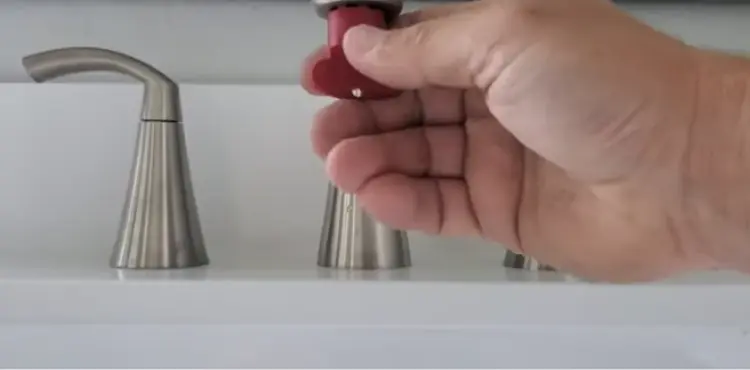
The first thing you should do is try to remove the faucet aerator by using your bare hand.
Actually, in many cases, the plumber installs a recessed aerator by using his hand. As a result, maybe it is not that tight and you should be able to unscrew it by using your bare hand.
Make sure that your hand is properly dried out. With that bare hand, you should be able to turn it anticlockwise.
If you can find enough grip, the aerator should be unscrewed completely. However, if the aerator is installed a long ago, it may get stuck with debris.
Due to the corrosion, the removal process might become quite difficult. In that case, you can follow the steps mentioned below to complete the task.
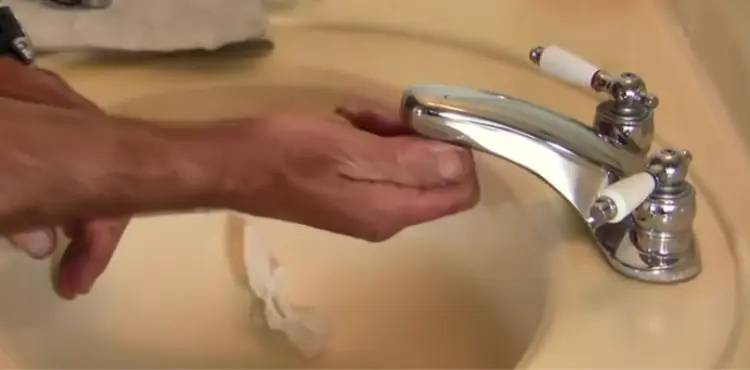
Put on Rubber Globe:
If you can’t get enough grip with a bare hand, you should use a rubber globe. Typically, you will get enough grip from a rubber globe. Try to unscrew the aerator by using a rubber glove.
Hopefully, you should be able to remove the aerator with the grip you will get from the globe.
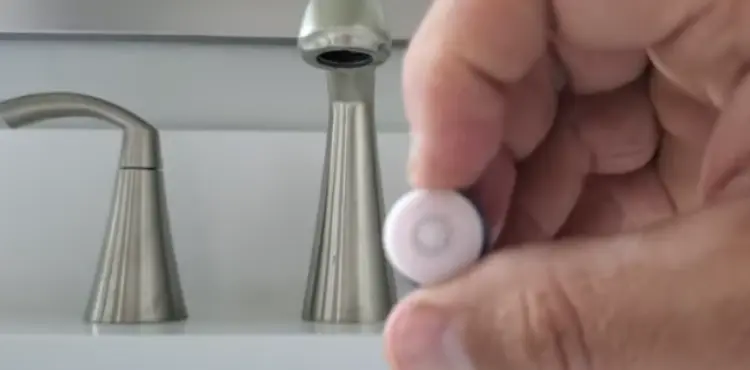
Use Your Finger Nail:
Another thing you can do is try to unscrew the aerator by using your fingernail. Of course, there is a risk that you might end up damaging your nails. But, honestly, some manufacturers make recessed aerators with smaller ridges.
As a result, in that case, you should be able to remove the aerator by using your nails. Just put your fingernail in between the ridges and try to turn the aerator anticlockwise.
If you can loosen the device by any means, the aerator will be removed gradually.
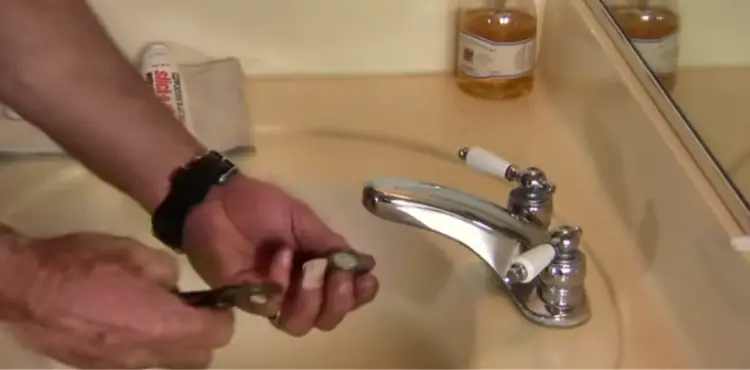
By Using A Screwdriver:
If you fail to remove the aerator by using your fingernails, you can easily complete the task by using a small screwdriver. For this task, you will require a screwdriver that comes with a flathead.
Just gently put the screwdriver in the right position in the ridges, then gently tap on the handle of the screwdriver by using a hammer.
When it comes to tapping the hammer, make sure that you are doing it anticlockwise. Otherwise, the aerator will be locked more tightly.
Use Vinegar:
If there is a lot of limescale or corrosion in the faucet aerator, it will become stuck. In that case, you will not be able to unscrew it easily.
So, you should use a chemical to loosen the aerator. For instance, you can use vinegar to serve the purpose.
Just fill the bag with the vinegar and tie it around the faucet for a period. The vinegar will be soaked by the faucet throughout the day.
Alternatively, you can use another chemical like WD-40. This chemical works perfectly to lubricate the faucet aerator.
However, to apply this chemical, you should take some precautionary measures. For example, the kitchen should be properly ventilated so that you can easily avoid problematic fumes.
The chemicals will dissolve the debris so that the faucet aerator can become loosen. As a result, you will be able to unscrew the faucet aerator without any hassle.
How Can You Remove A Stuck Faucet Aerator?
If there is an excessive level of sediment accumulation, the faucet aerator might get stuck. That’s why you will face difficulties when it comes to removing the faucet aerator.
If there is an excessive level of sediment accumulation, the tap water might get contaminated.
When you face difficulties during the removal process of a faucet aerator, you can easily assume that a cluster of minerals can be the main cause of that.
In fact, due to an excessively high amount of sediment buildup, the faucet aerator can become pretty much resilient.
Of course, a removal tool can be a great help for you here. You might think that putting too much pressure on the tool can help you to remove the aerator. But, this is a wrong strategy. Instead, you should choose a solution that is quite effective to loosen a stubborn faucet aerator.
It can be vinegar or any other suitable chemicals. Just fill a bag with the chemical and then you need to tie it around the faucet.
After that, you must allow some hours so that the minerals can be dissolved easily. After that, you should be able to unscrew the aerator without any issues.
Final Words
If the faucet aerator you used is recessed type, it will be quite tough to remove. There are specific tools that can be used to remove the aerator. However, you can also remove it without using any key or tool.
In this article, I showed you how to remove the recessed faucet aerator without a key or tool. Hopefully, it was helpful and you can complete the task without any hassle.

Hi, this is Sondip. In my opinion, the best approach to making the most of your home is to clean it, decorate it, and organize it. You should feel most at ease in your own home.
If you considering changing your faucets or wanting to repair the ones you already have could find my enthusiasm and my ideas to be of enormous help. My aim is to assist you in selecting the ideal faucet, and accessories for your residence and ensure that they are compatible with your sink and worktops.