

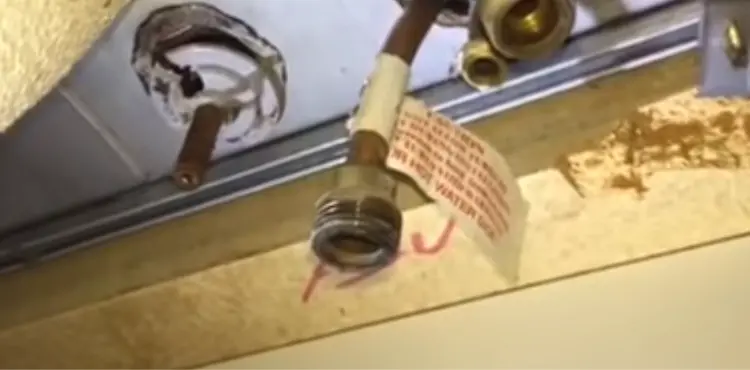
When it comes to replacing an existing kitchen faucet, oftentimes, you may get stuck with the stubborn plastic nut that holds the faucet in the right place. If you don’t know how to remove kitchen faucet plastic nuts, it will be quite tough for you to replace the faucet.
In that case, you might need to call a plumber and spend some money to get the job done. But, there are several easy ways to remove the plastic nut. In this article, I am going to tell you about those easy plumbing tricks that will help you remove a stubborn plastic faucet nut.
How To Remove The Kitchen Faucet Plastic Nut? (6 Ways)
When you talk about removing a plastic faucet nut, you can follow one of these methods.
- Method 1: Using a Basin Wrench
- Method 2: Using a Drill Machine
- Method 3: Using a Screwdriver and Hammer
- Method 4: Using a chisel and hammer
- Method 5: Applying Heat
- Method 6: Make a Tool Yourself (DIY technique)
Below I will discuss each method briefly so that you remove the plastic nut of your faucet very conveniently.
Using A Basin Wrench:
You can easily remove the plastic nut if you have a basin wrench. You can follow these simple steps to complete the task.
- Step 1: Wear a headlamp and go under the sink where the nut is located.
- Step 2: Now, hook the jaws of the basin wrench onto the plastic nut. After that, you need to turn the wrench counterclockwise to remove it. If it is too tight, you can apply some oil to loosen it.
Tips: You can wear a headlamp to lighten up the workplace under the sink.
In most cases, a basin wrench is good enough to remove a plastic nut. However, if you are still stuck in the same place, there are more methods to help you out.
Using A Drill Machine:
Another good method to remove the plastic nut is to use a drill machine. However, you should not go for this method in the first place. Because it will destroy the nut completely. Just get a drill machine and follow these simple steps to successfully remove the nut.
Step 1: First drill a hole in any side of the plastic nut. Then, drill the second hole on the opposite side of the first hole.
Step 2: Now that you already have two holes, you should try to tear the nut off. If you try properly, it will not be a tough job.
Using A Screwdriver and Hammer:
If you notice properly, you will see there are two plastic nibs in the plastic nut. In this method, we need to tap the nib by using a flathead screwdriver and hammer. This tapping process is a little bit tricky.
If you do it properly, you will be able to create enough force so that the plastic nut will eventually rotate. This method is as simple as that. Continue tapping until the plastic nut is loosened. When the nut is loosened enough, you should rotate it counter-clockwise to remove it.
Using A Chisel And A Hammer:
Another method to complete the task is using a hammer and a chisel. Nonetheless, like the drilling method, this method will also damage the plastic nut completely. There is no rocket science in this method.
The principle here is very simple. If you can’t remove the nut, just cut it. In this case, we will use a chisel and a hammer. Position the chisel on top of the nut and tap it with a hammer. If you apply a decent force, you will be able to cut through the plastic nut.
Applying Heat:
The next method I am going to discuss is applying heat to the tip of your flathead screwdriver. You can use a torch or a hairdryer to heat the screwdriver.
If the tool is heated enough, you should tap it with a hammer by placing it over the plastic nut. As the tip is heated, it will cut through the plastic nut. As a result, eventually, you will be able to remove it without any hassle.
Make A Tool Yourself (DIY technique):
Now, if you are a DIY enthusiast who loves to complete any task with creativity, this method is the best one for you. In this method, we are going to make a specific tool to get the job done. There are a few steps that you need to follow which I will discuss below.
Necessary Equipment:
- PVC pipe (one and a quarter inches)
- Marker pen
- A vice
- A hacksaw
- A knife
- Pliers
- Drill machine
- A screwdriver
Steps To Follow:
Step 1: Cut your pipe and make its length short as per your requirement.
Step 2: On one end of the pipe, you need to make two vertical marks which are three sixteen’s of an inch by using the marker. Then, you need to measure down about five sixteen inches and create a mark there.
Step 3: Now, you need to clamp the PVC pipe into a vice. Then, you need to see directly across the pipe by using the hacksaw. The cut should be done on the two vertical marks you made earlier. Make sure that you have sawed down up to the horizontal mark.
Step 4: At this point, you need to remove the cut parts. To do that, you have to make a third cut across the middle of the first two cuts. Then, you need to try to score at the bottom of the cut by using a knife. Then, break away the plastic by using a pair of pliers. Make sure to repeat this process for the opposite side of the cut. So, you will end up having two notches.
Step 5: Again, clamp the pipe into the vice. However, this time, you must make sure that the notches are on the bottom side of the vice.
Now, with the help of a drill, you need to make a hole directly through the center of the pipe. Make sure that, the drill bit is long enough just like the length of the shaft of a screwdriver.
Step 6: You have to align the notches properly with the wings of the Plastic nut. And, insert the screwdriver through the hole on the opposite end of the pipe. Now, turn the screwdriver counterclockwise. That’s it. Soon, the plastic nut will be removed.
Wrapping Up!
When it comes to removing the tight and stubborn plastic nut of a faucet, sometimes, you might become disappointed. It is a normal thing. Knowing how to remove old kitchen faucet plastic nuts easily will help you out in this case.
I hope the methods I have discussed in this article will help you to complete the task without any hassle. All of the methods are effective. But, you have to choose one based on your situation.
If you find a basin wrench that fits perfectly with the nut, that will be awesome. However, if you are a DIY enthusiast, don’t forget to try the last method.

Hi, this is Sondip. In my opinion, the best approach to making the most of your home is to clean it, decorate it, and organize it. You should feel most at ease in your own home.
If you considering changing your faucets or wanting to repair the ones you already have could find my enthusiasm and my ideas to be of enormous help. My aim is to assist you in selecting the ideal faucet, and accessories for your residence and ensure that they are compatible with your sink and worktops.